I recently discovered and fell in love with an HGTV show called
Flea Market Flip. It's basically rewarding people for their Pinteresty reinvention skills of an artist. Now, my husband has always tried to convince me how rewarding a flea market scavenge can be, but after my first experience with an indoor flea market at a rundown strip mall near Pittsburgh, wherein people were selling all sorts of guns and ammo and more knives than I knew existed, I begged off. It was an ongoing joke to take me to flea markets as a form of torture. This show gave me a new perspective and willingness to try, though, so we found ourselves at the
Harper's Ferry Flea Market in West Virginia last weekend. We didn't have any specific projects in mind and just meandered, looking for things to catch our eyes. There was one very cool trunk that I didn't investigate when we walked by, and later regretted because it was gone on our way out. Lesson learned. What we did walk away with was this little stash:
2 lanterns: $8
Side table: $5
Pillar candle holders: $2
Magazine caddie: $10
I can't even imagine where else $25 would get me so far.
So the first find was that pair of candle holders. We were walking down a row and I immediately locked eyes with those. I hated the bubbled green treatment on them, but they had great shape. The #1 rule I hear from Flea Market Flip and every other makeover/DIY show I've watched is to look for good bones, and sure enough the underlying shape of those cheap ceramic candle holders was one I liked a lot. I knew that with a coat of glossy black spray paint, they'd look Pottery Barn worthy. Turns out I was spot on. Check out
this set I could have spent $70 on instead of my $2.
Oooo I love the feeling of a good deal! Muahahahaha.
So first things first- cleaning up these holders. They had old wax drips on them and a layer of dust/grime. Because they're ceramic, I used a plastic child's spoon to scrape off the wax without damaging the base.
You've gotta go, gunk.
Once the wax was scraped off and I gave them a nice scrub with my Mister Clean Magic Eraser (really- it's magic), it was time to spray paint.
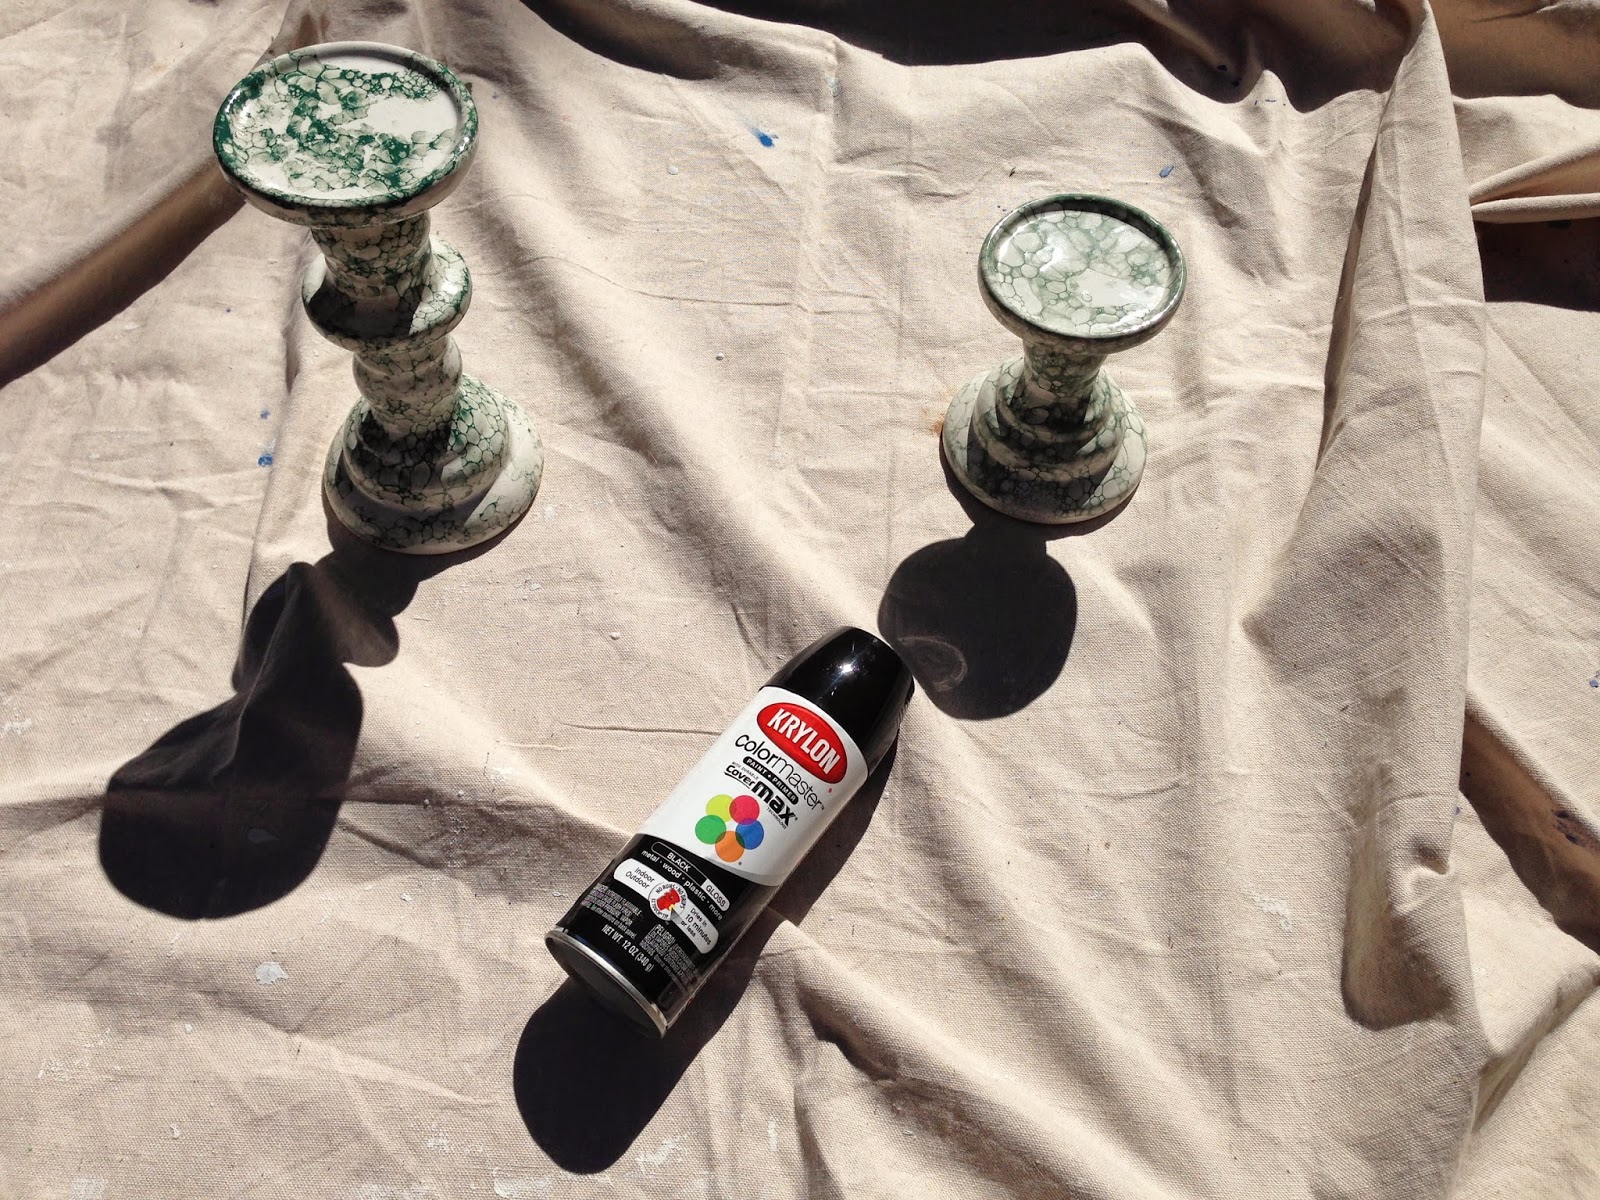
I used Krylon shiny black spray paint and checked the back of the can to make sure it would adhere to glass and ceramic. The candle holders are made out of ceramic but the coating on them was glassy, and I wanted to be sure the spray paint would adhere well. I'm happy to report that yes it did!
I sprayed on two coats. The first one was as shown here, with the holders upright.
I let that dry, then flipped upside down and did coat #2 to catch everything from the opposite angle. This was my first time spray painting in a LONG time, and I could have been more careful about making sure I did a good job at the base. It was too sunny outside to really see where I was missing spots, and I only noticed that I didn't have a completely even coat until I was inside. I am just being overly critical, though. They look great- I'm just sharing advice on what I encountered. Anyway, when spray painting, remember- nice even spraying at a good distance, and be careful you don't overload with paint and cause drips.
End result: don't they look great?! And I'm not talking just for Halloween, here. They'll be wonderful all year long.